
VPS
Linux VPS
Windows VPS
OpenVZ VPS
Forex VPS Hosting
Dedicated Hosting
Hosting
Web Hosting
WordPress Hosting
Windows Hosting
Web Hosting For Agencies
Use Cases
Hosting Solutions
Linux VPS
Windows VPS
OpenVZ VPS
Dedicated Servers
Server Deals
Cloud Backup
Servers For Agencies & Reseller
Resources
Rent-A-Server
Cloud
Data Center Designer
Customer References
Cloud Solutions
Compute Engine (IaaS)
Managed Kubernetes
Backup
Our Strengths
Data Backup & Disaster Recovery
Digitalization for SMEs
On-Premise vs Cloud Computing
Domains
Domain Names
Domain Transfer
SSL
SSL Certificate
Company
About Us
Data Centers
Personal Consultant
Website Checker
Favicon Generator
SEO Checker
Whois Lookup
SSL Checker
IP Address Checker
Domain Check
Partner Programs
Partner Program
Affiliate Program
Partner Network
Referral Program

1. Launch your Microsoft Outlook 2016.
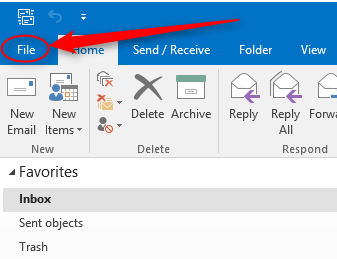
2. From Top left menu, click on FILE > make sure that Info is selected on the left> click on Add Account.
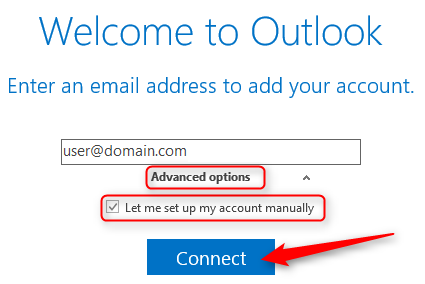
3. Enter your full email address > click on “Advanced options” > tick the checkbox “Let me set up my account manually” then Connect.
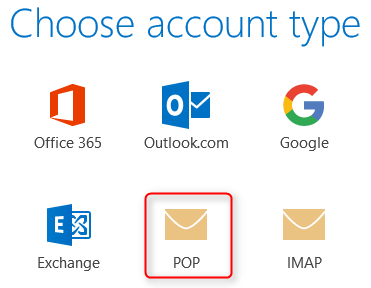
4. Choose account type, select POP.
5. Enter mail.domain.com for Incoming and Outgoing mail server (SMTP).
6. Check the checkbox “This server requires an encrypted connection (SSL/TLS)” for the Incoming mail server.
7. Assign 995 for the incoming port (POP3) and 465 for the outgoing port (SMTP).
8. Enter the password for your email address then Click OK.
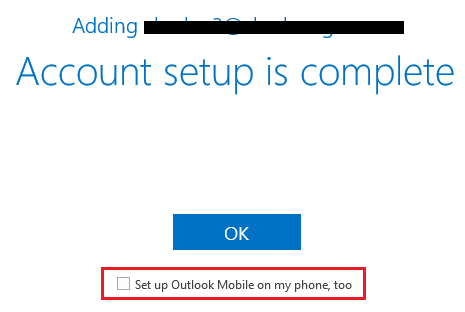
9. Account setup is complete. Lastly, check the checkbox if you want to set up Outlook mobile on your phone then click OK.
Your email account now is ready to use.
Note: If you wish to edit the Account Setting, you may proceed with the below step
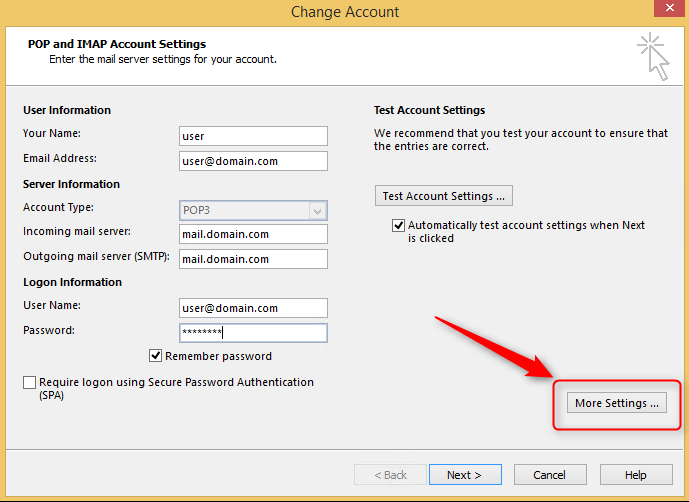
1. File> Account Setting> Double click your email address> More Settings
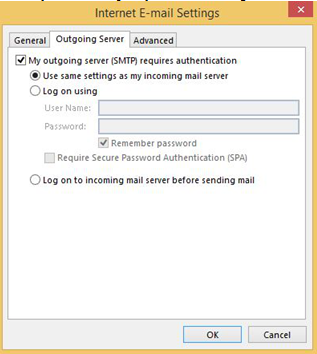
2. Click on Outgoing server tab to check on “My outgoing server (SMTP) requires authentication” as it is our currently mail server policy to allow sending from mail client.
3. Click on the Advanced tab and you can edit your port setting here.
4. By default, the system will select the option “Leave a copy of messages on the server” as a backup. Click OK.
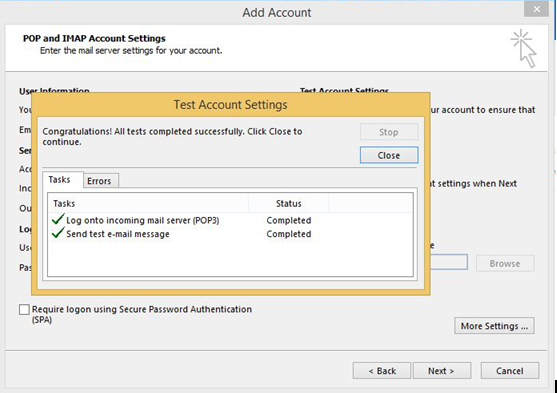
5. After edit click OK, it will return to the Add account setting. Click on Next and click on Close after the Test Account Settings have been done.
For more information, kindly read on our Email Hosting page, or you may check out the following relevant tutorials: