

PhpMyAdmin is a well-known GUI open-source tool used to manage MySQL databases. If you own a VPS, there is a high chance you will have to use phpMyAdmin to manage your MySQL databases. Here are some tips on what you can do if you are using phpMyAdmin on your Linux VPS server.
1. Creating a seperate phpMyAdmin User
There are reasons why you should create a separate phpMyAdmin user, such as not using the default user for security reasons or allowing another user to get full privileges. To do so, firstly, access the MySQL command-line interface as root user by using the following command in the terminal.
sudo mysql -u root -p
After accessing the MySQL command-line interface, you can create a new user using the following commands.
CREATE USER username IDENTIFIED by ‘password’;
GRANT ALL PRIVILEGES ON *.* TO ‘username’@’localhost’;
FLUSH PRIVILEGES;
EXIT
Type in your MySQL credentials on “password” and “username” in the command above to set your desired username and password. Use a complex password to secure your account. If there are any authentication problems encountered, restart the Apache server using the following command.
sudo systemctl restart apache2
On the phpMyAdmin dashboard, in the Status tab, you are able to see a list of connections in the MySQL database server, queries that are currently running, and the operating duration of the server.
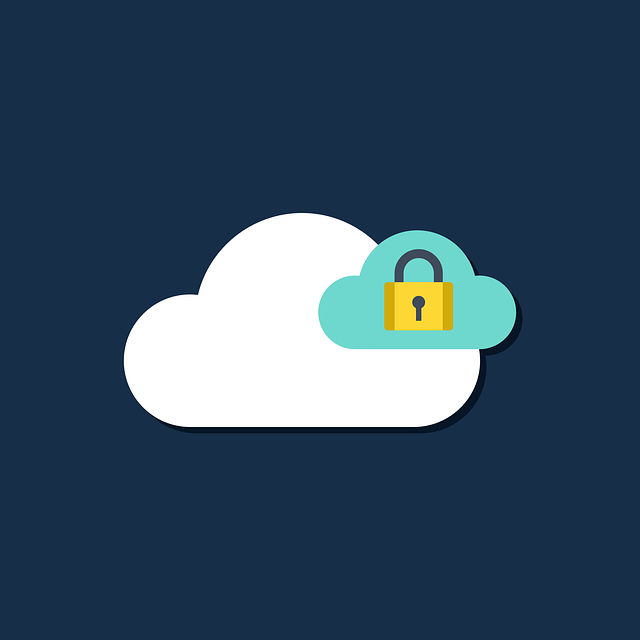
2. Securing phpMyAdmin
No matter what plugins or tools you are using, it is recommended to take extra measures against cyberattacks. To improve the security in phpMyAdmin, an extra authentication can be implemented using Apache’s built-in .htaccess authentication and authorization features.
The .htaccess file override can be enabled by modifying the phpMyAdmin Apache configuration file. Use the following command to open the configuration file with Nano text editor.
sudo nano /etc/apache2/conf-available/phpmyadmin.conf
If you are using another text editor, use the command that fits the text editor you are using. After that, in the <Directory /usr/share/phpmyadmin> section>, you will need to add a line called, “AllowOverride All”.
<Directory /usr/share/phpmyadmin>
Options SymLinksIfOwnerMatch
DirectoryIndex index.php
AllowOverride All
Save changes and exit the file, you can do so by pressing Ctrl+X. When prompted for confirmation, press Y and Enter. To implement the changes, the Apache webserver needs to be rebooted. Use the following command line to reboot it.
sudo systemctl restart apache2
After rebooting the web server, create the .htaccess file in the phpMyAdmin application with the following command.
sudo nano /usr/share/phpmyadmin/.htaccess
With the above command, a Nano text editor will open for editing the .htaccess file. Once again, use a text editor of your preference. After that, type in the following command.
AuthType Basic
AuthName “Restricted Files”
AuthUserFile /etc/phpmyadmin/.htpasswd
Require valid-user
Make save changes and exit the file like before. In the command above, the .htaccess had specifically mentioned the .htpasswd file, which means the .htpasswd file needs to be created in the specific directory too. Create the password file and pass it using the htpasswd utility by using the following command.
sudo htpasswd -c /etc/phpmyadmin/.htpasswd USERNAME
Insert your username in the command above where the username is typed in uppercase letters. The file will be created after you are prompted to input a password and confirm it. After that, your file will be created and the password will be hashed. If you want to create an additional username, you can use the similar command as above but without the “-c”.
To implement the changes made, Apache needs to be restarted.
sudo systemctl restart apche2
To verify if you had successfully implemented the extra authentication, visit your phpMyAdmin page, by using the following URL:
http://server-IP/phpmyadmin
There should be an authentication pop-up before the phpMyAdmin page will load. You will only successfully access the phpMyAdmin login page after you sign in with the username and password you had created earlier.