

Assign an Additional Static IP
Short for Internet Protocol address, an IP address is a number that is assigned to every device on a network, allowing the device to communicate inside and outside the network while providing identification. There are different types of IP addresses. The most commonly used are static and dynamic addresses.
Static IP addresses mean the IP address for the specific device does not change when prompted by the client/server protocols; static IP addresses are named as such because they remain the same. Conversely, dynamic IP addresses change when prompted by the client/server protocol.
Static IP addresses are useful when a device on the network needs to be assigned a consistent address that data can be sent to, without concern about the address changing or losing data transmission.
Getting Started
In a previous tutorial, we’ve covered how to assign a static IP address to your node running Windows Server 2016. If you’re looking to assign another static IP, this tutorial will help guide you through the process.
To start assigning an additional static IP on your Windows Server 2016 instance, you will need a node that’s either on a Dedicated Server or a Cloud Server. You can choose whichever node type you’re more comfortable with or have available.
When you’ve selected your node, make sure to update the Windows Server 2016 software, as well as any hardware required for your node. Additionally, make sure you have administrative access to your node, you will need this to set the additional static IP address.
Assigning an Additional Static IP on Windows Server 2016
The steps to assign an additional static IP address are very similar to assigning the first static IP address, though the process will not work if there is not a static IP address already in place.
Your first step to assigning this additional address is connecting to your node, which can happen through the console or a remote desktop connection.
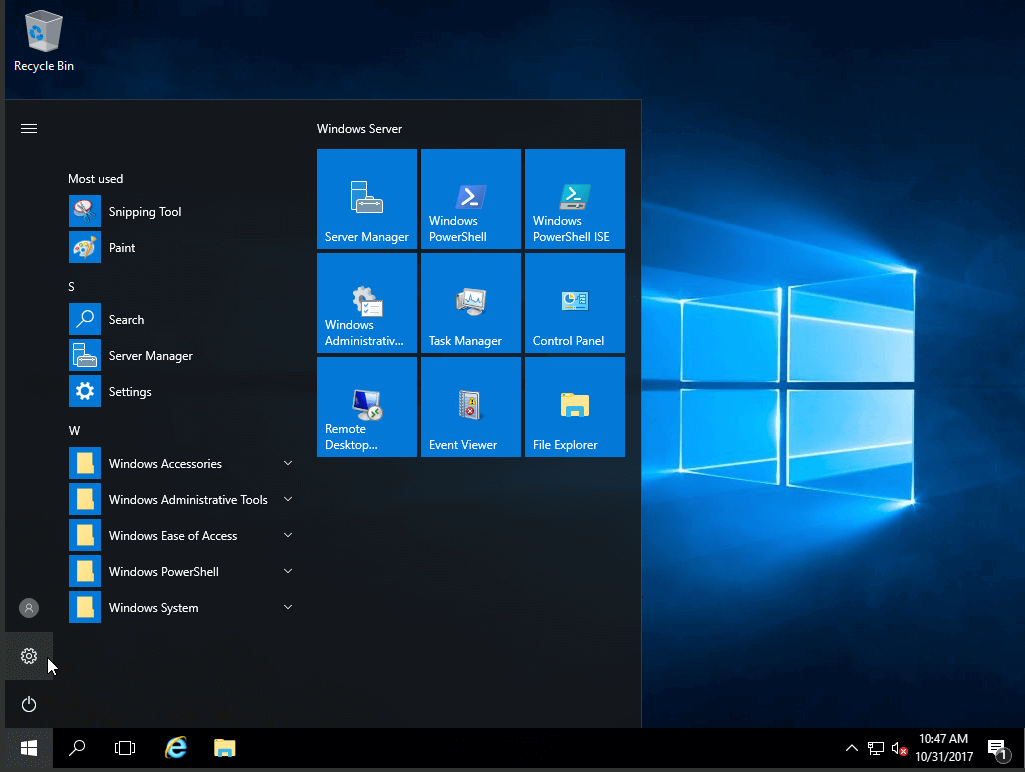
Once the console or remote connection is open, you will need to open the settings:
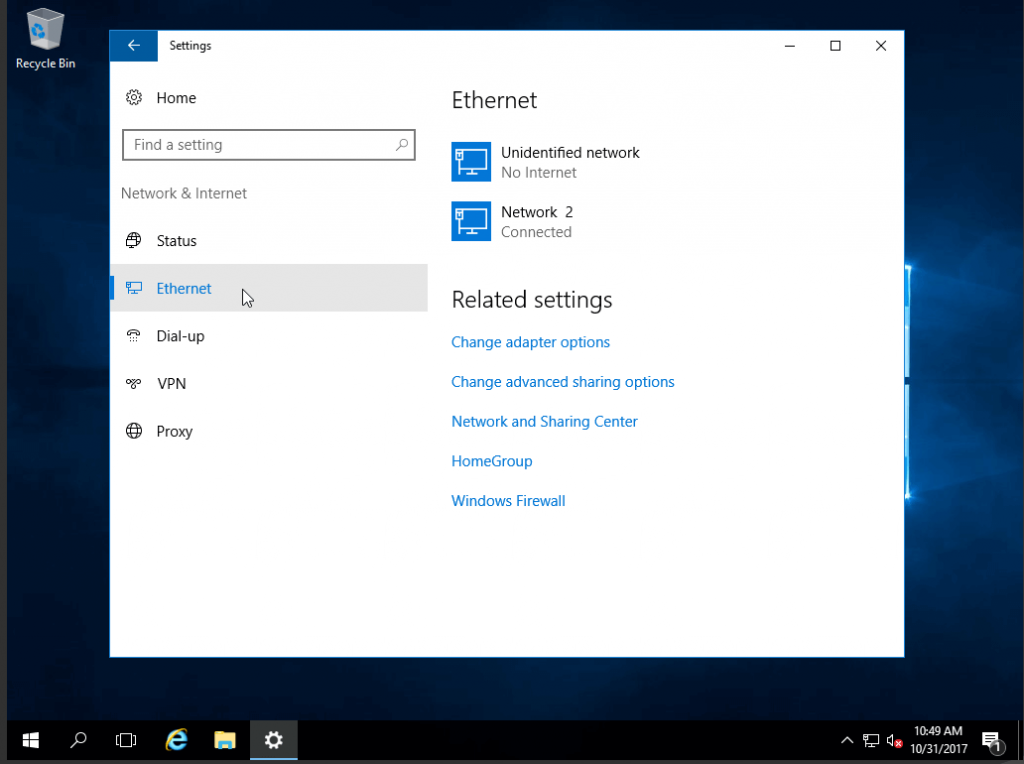
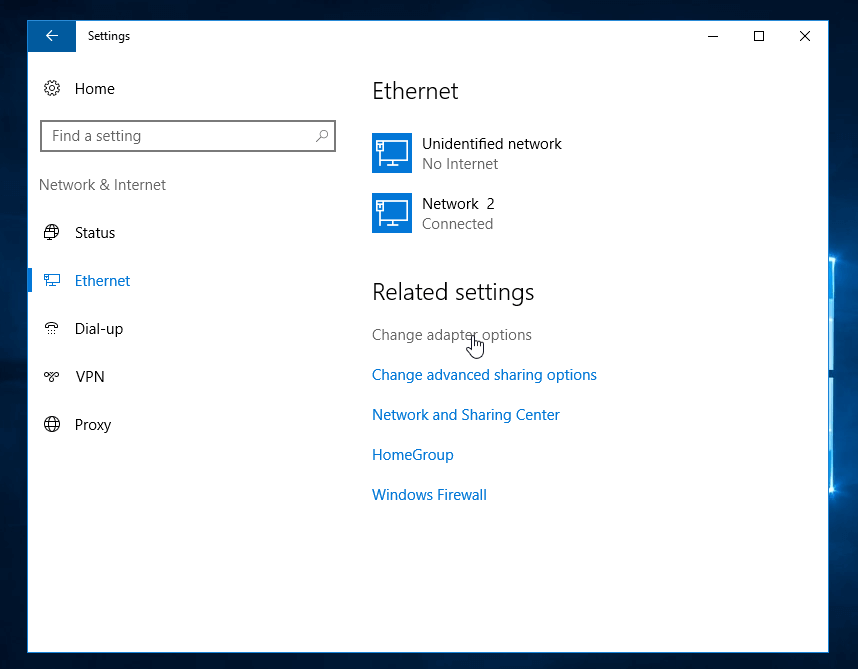
In the settings option, select network and internet settings:
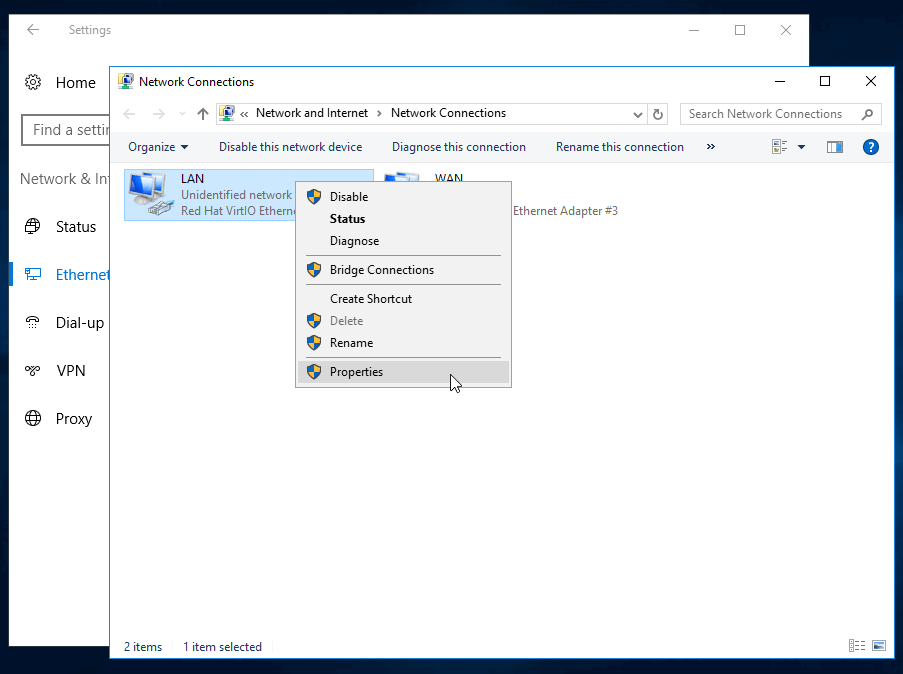
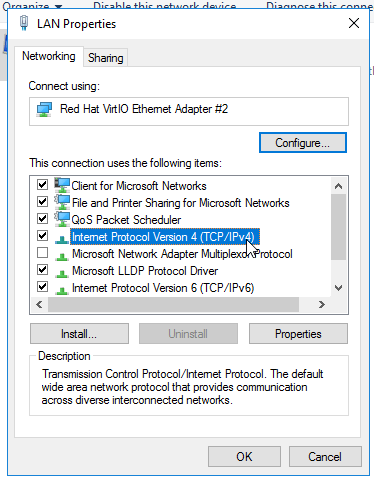
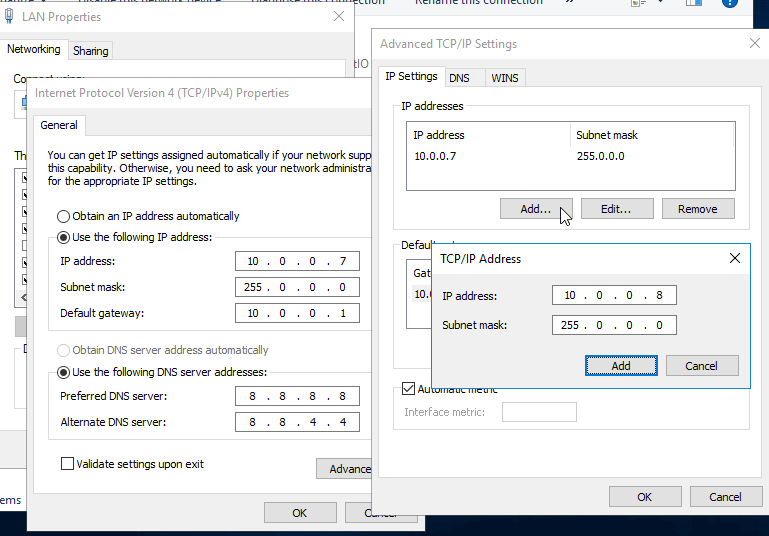
This will prompt you to fill in some information, including the Network Mask, Default Gateway, and the DNS IP. However, it’s important to have the first static IP address in place; otherwise, the options will not be present.
After filling in the required information, click on the advanced option. Inside the IP section of the new window, add your additional static IP address:
Conclusion
Congratulations, you’ve successfully given your node running Windows Server 2016 an additional static IP address. Your node will no longer be provided a dynamic address whenever prompted by the client/server protocols. If you found this guide useful during the setup of your additional address. Please share it with other users going through the same process.
Check out the next article about How to use the Remote Desktop tool to connect to Windows Server.