1. Firstly, grab a copy of FileZilla application (FileZilla Client) from http://filezilla-project.org/download.php?type=client, and install it.
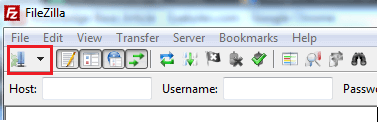
2. Once installed, launch the program and the following screen should appear. Then click on the first left icon – Site Manager.
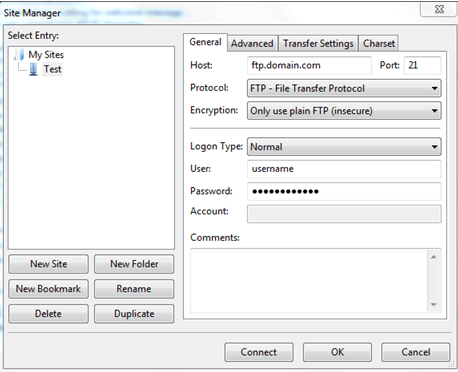
3. Click on “New Site”, rename it to your preferable name such as yourdomain.com. Then fill in the connection details and click “OK” to save the settings.
Host: ftp.yourdomain.com or IP Address
Port: 21
Logon type: Normal
Username: FTP Username
Password: FTP Password
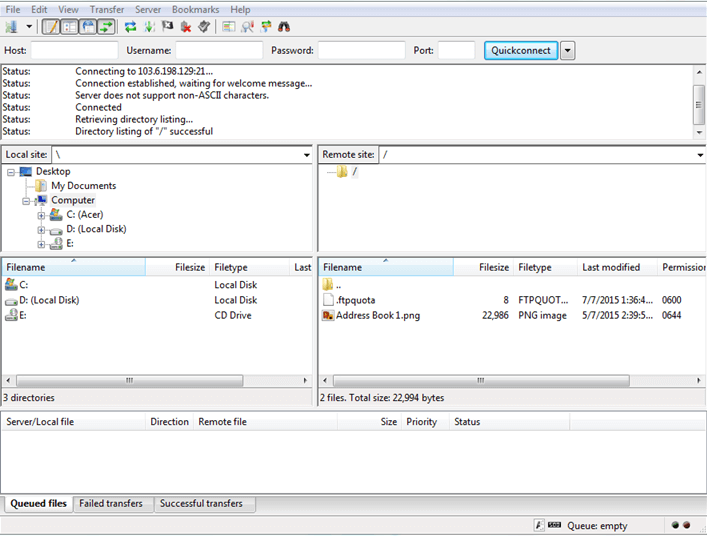
4. Back to main screen, click the small arrow on right beside the “Site Manager” and select the name that just created from previous step.

5. Connection established. You will see the server files on the right hand side and you have your local files on your left. At this point, you
have successfully connected to the server. You may either drag and drop, double click on them or right click on them to transfer them
between two locations.
Note:
For Linux users, upload your website files to “public_html” folder.
For Windows users, upload your website files to “wwwroot” folder.