Quick Start Guide
This article describes how to use the SolusVM control panel to manage your VPS. SolusVM enables you to control many aspects of your VPS using a web interface.
1. Logging on to the SolusVM Control Panel
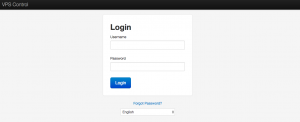
Visit https://solusvm.hostcentral.net:5656 using the “SolusVM Control Panel” information provided in the welcome email.
Enter your Username and Password and click “Login”.
2. Control Panel Overview
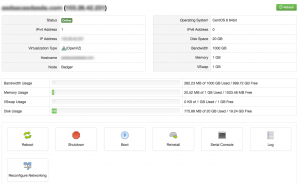
After logging in, you will be presented with your control panel overview. From here you can access all the functionality that the panel provides.
These include
– Viewing VPS Statistics
– Rebooting, Shutting Down/ Starting Up your VPS
– Re-installing your VPS
– Changing the Hostname of your VPS
– Changing the Root Password of your VPS
– Changing the Login Password to the SolusVM Control Panel
– Serial Console to your VPS
3. Viewing VPS Statistics
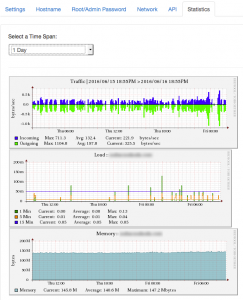
Click on the “Statistics” tab to view the various statistics for your VPS. These include Traffic, Load and Memory.
The Time Span for the graphs available can be as little as “1 hour” to maximum “1 year”.
4. Rebooting, Shutting Down/ Starting Up your VPS
These buttons allow you to change the various power states of your VPS.
– Reboot will reboot your VPS
– Shutdown will switch off your VPS if it is currently running
– Boot will switch on your VPS if it is not powered up

5. Re-installing your VPS
You can restore your VPS to the initial setup state by clicking the “Reinstall” button. But doing so will destroy all data in the currently VPS. This process is not reversible!
If you choose to reinstall your operating system, click on the “Reinstall” button and you will be asked to select the OS Template.
Click “Reinstall” to confirm your action. The process will take a few minutes and once it’s complete, you will be able to login to the VPS.

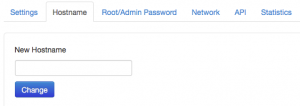
6. Changing the Hostname of your VPS
Click on the “Hostname” tab to rename the Hostname of your VPS.
Enter the new Hostname and click “Change” to confirm the change.
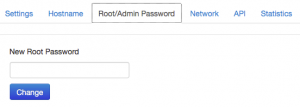
7. Changing the Root Password of your VPS
Click on the “Root/Admin Password” tab to change the Root password of your VPS.
Enter the new Root password and click “Change” to confirm the change.
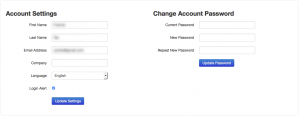
8. Changing the Login Password to the SolusVM Control Panel
Click on the “My Account” link on the top header to change the Login Password to the SolusVM Control Panel.
Enter your current password and the new password and click “Update Password” to confirm the change.
You can also change the Login Alert settings here. If checked, you will receive an email notification each time someone logs into your Control Panel.
To stop receiving email notifications, uncheck this box.
9. Serial Console to your VPS
Click on the “Serial Console” button to initiate a new session to your VPS. You will be asked to specify a Session Time validity period from “1 Hour” to maximum “8 Hours”.
This method of connection to your VPS should only be used in emergencies. E.g. accidentally locking yourself out of the VPS via firewall.
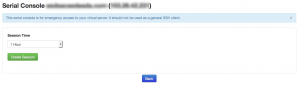
Click on “Create Session” to start the session.
Next, choose how you would like to create the session using either
– HTML 5 Console (Recommended)
– Java Console
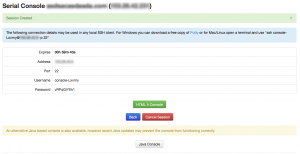
Your serial console session will now be created.